Binding Tutorial
I’ve had many quilters ask me to revisit bindings. It seems that the video I did for Quilter’s
World magazine has been very popular.
I must warn you that I tend to do things a bit different than the
conventional double-folded binding so if my way doesn’t appeal to you, well
there are several great ways to do it. How
you choose to do your bindings is a personal preference so look until you find
the technique that appeals to you.

Once your binding has been selected, stitched end to end to make the needed length and pressed in half its time to stitch it to the quilted and trimmed piece.


Once your binding has been selected, stitched end to end to make the needed length and pressed in half its time to stitch it to the quilted and trimmed piece.
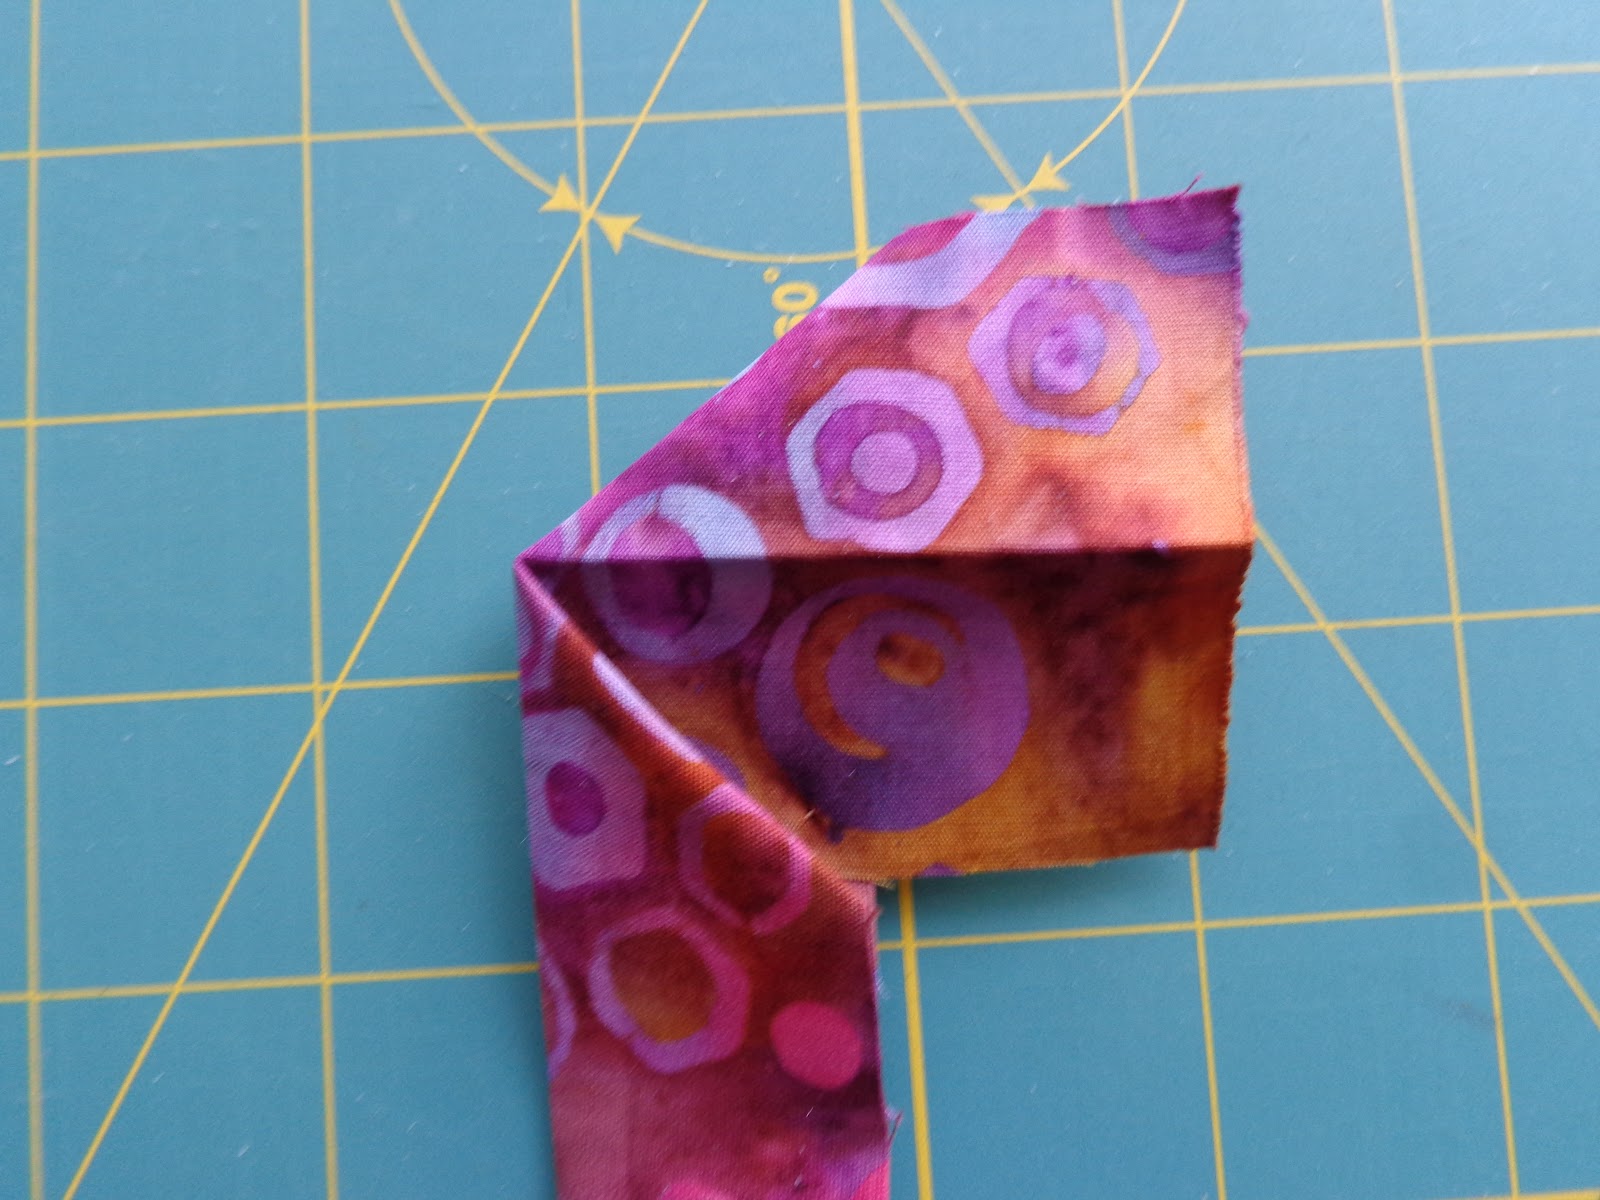
1. The first thing I do is fold a 45 degree angle at the end
of my binding to be attached to the quilted piece, I open up the folded and pressed binding,
fold the 45 degree angle then fold it back into place. This creates a “pocket” for the
finishing.

2. Place the folded end pocket on the quilts raw edge that you are placing the binding on and pin into place.


4. Continue to stitch to the ¼” line and stop with needle in down position.


2. Place the folded end pocket on the quilts raw edge that you are placing the binding on and pin into place.

3. Start stitching at or before the 45 degree fold using a ¼” seam allowance and continue until you’re about an inch from the corner. Stop and using a ruler mark the binding with a pencil ¼ inch from the edge.

4. Continue to stitch to the ¼” line and stop with needle in down position.
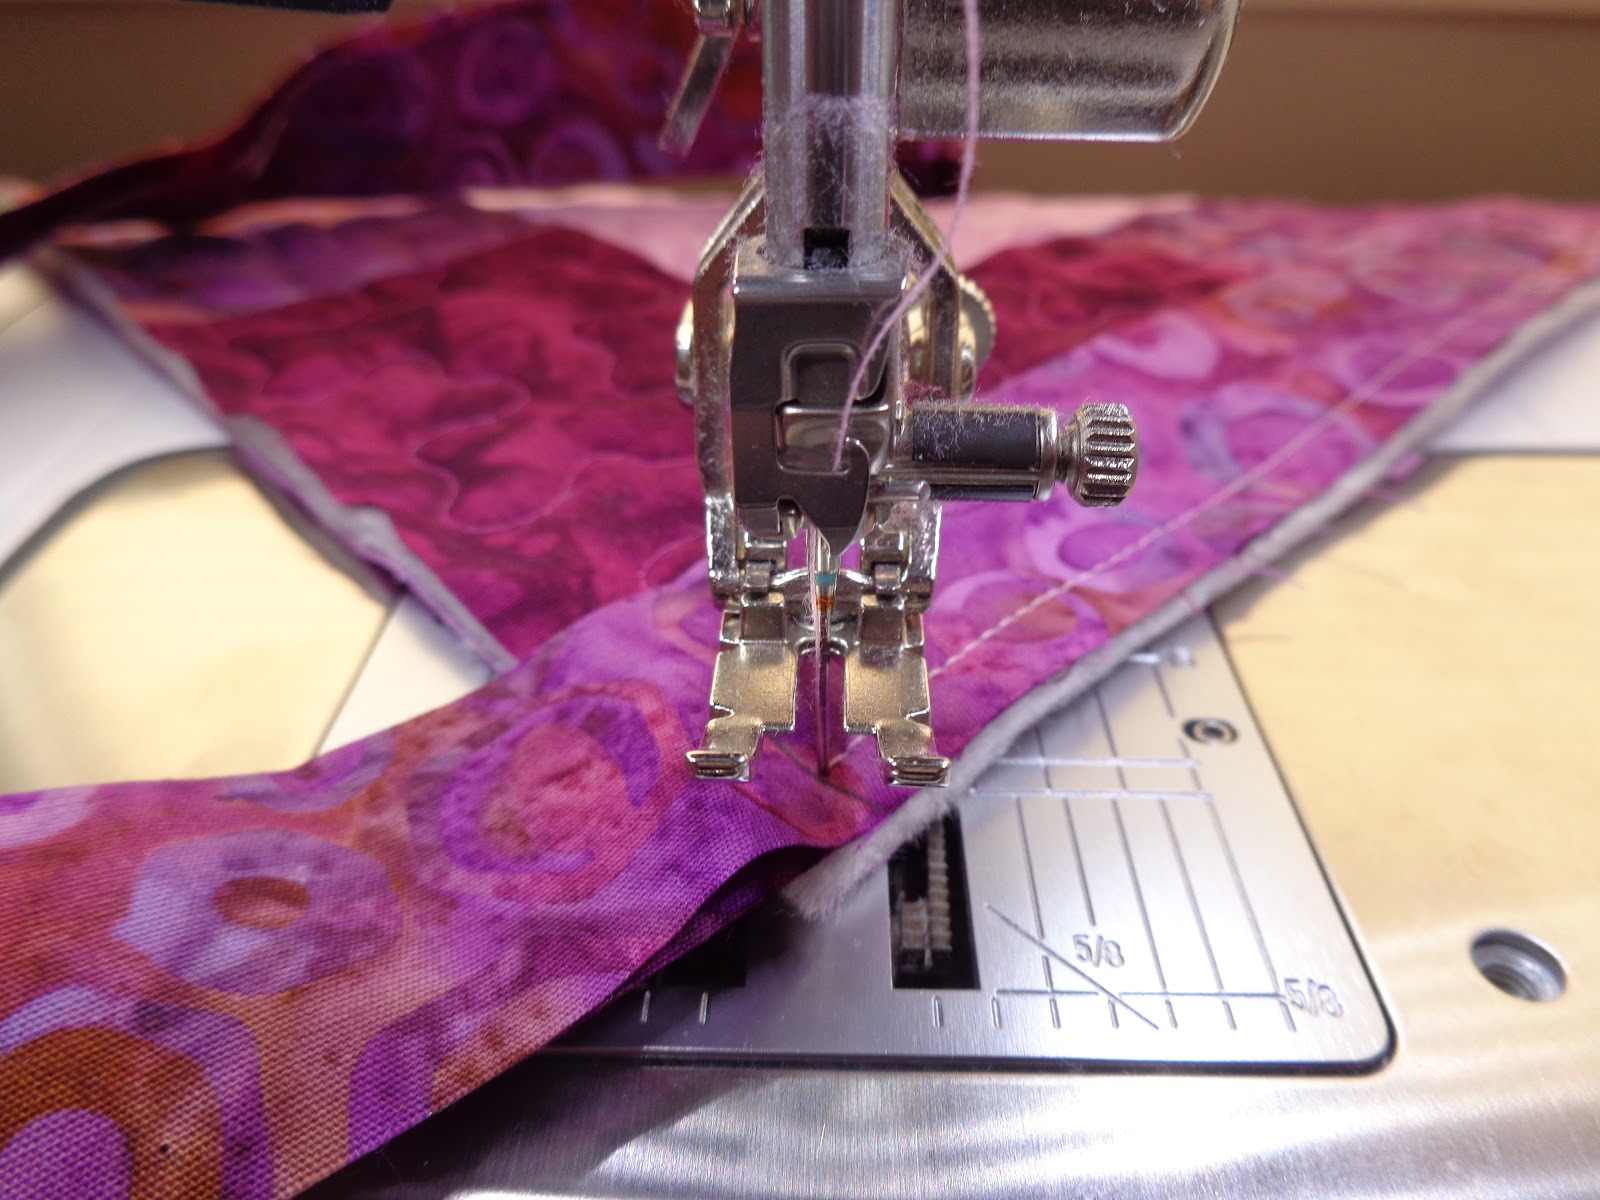
5. Raise presser foot and pivot, lower presser foot and continue stitching off at a 45 degree angle off to the point.

6. Fold up the binding using the 45 degree angle as your guide.


7. Then fold the binding back down and align with the next side of the quilt.

8. Starting at the top of the second side stitch the binding into place again stopping about an inch from the next corner and repeat step 4 – 7 at each corner.


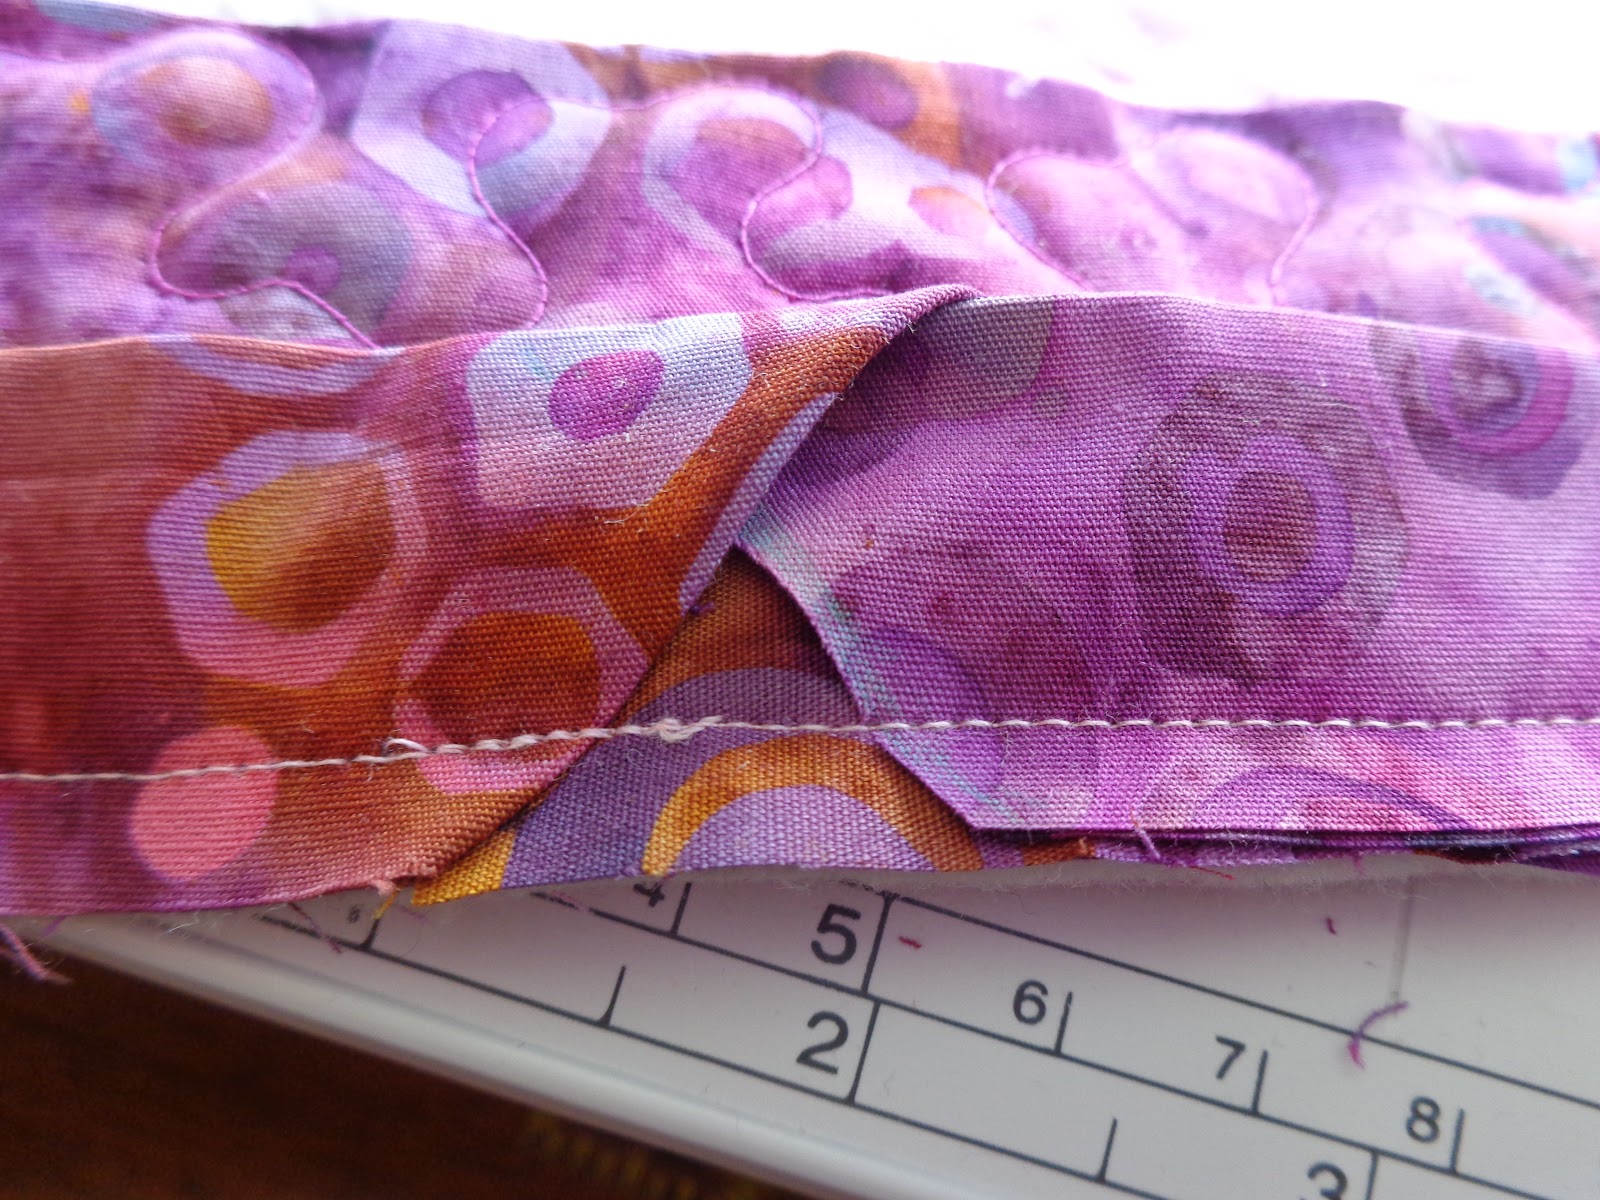
9. When you round the fourth corner and before you reach the binding pocket stop a few inches from the start and mark a diagonal line on the lose binding end so that there is a ½ inch overlap with the bottom attached pocket start.


10. Trim to the line.


11. Tuck the loose diagonal point into the pocket and pin into place.


12. Continue to stitch along the raw edge until you’re back at the beginning and it is stitched all the way around.

13. There should be an upside down “V” where the two end meet.


14. Trim off the extra length of binding that was folded to make the pocket.

15. Your binding is ready to stitch down. Starting on the front side of the binding bring your needle in from the back and slip stitch the diagonal seam together.


16. Slip stitch the diagonal seam together to the top edge.


17. Flip the binding over to the back side of the quilt and finish stitching all the way around and bury your knot.